> ## Documentation Index
> Fetch the complete documentation index at: https://docs.bawabah.app/llms.txt
> Use this file to discover all available pages before exploring further.

# Form Login

> Setup Bawabah Form Login Solution.

## Form Login Flow
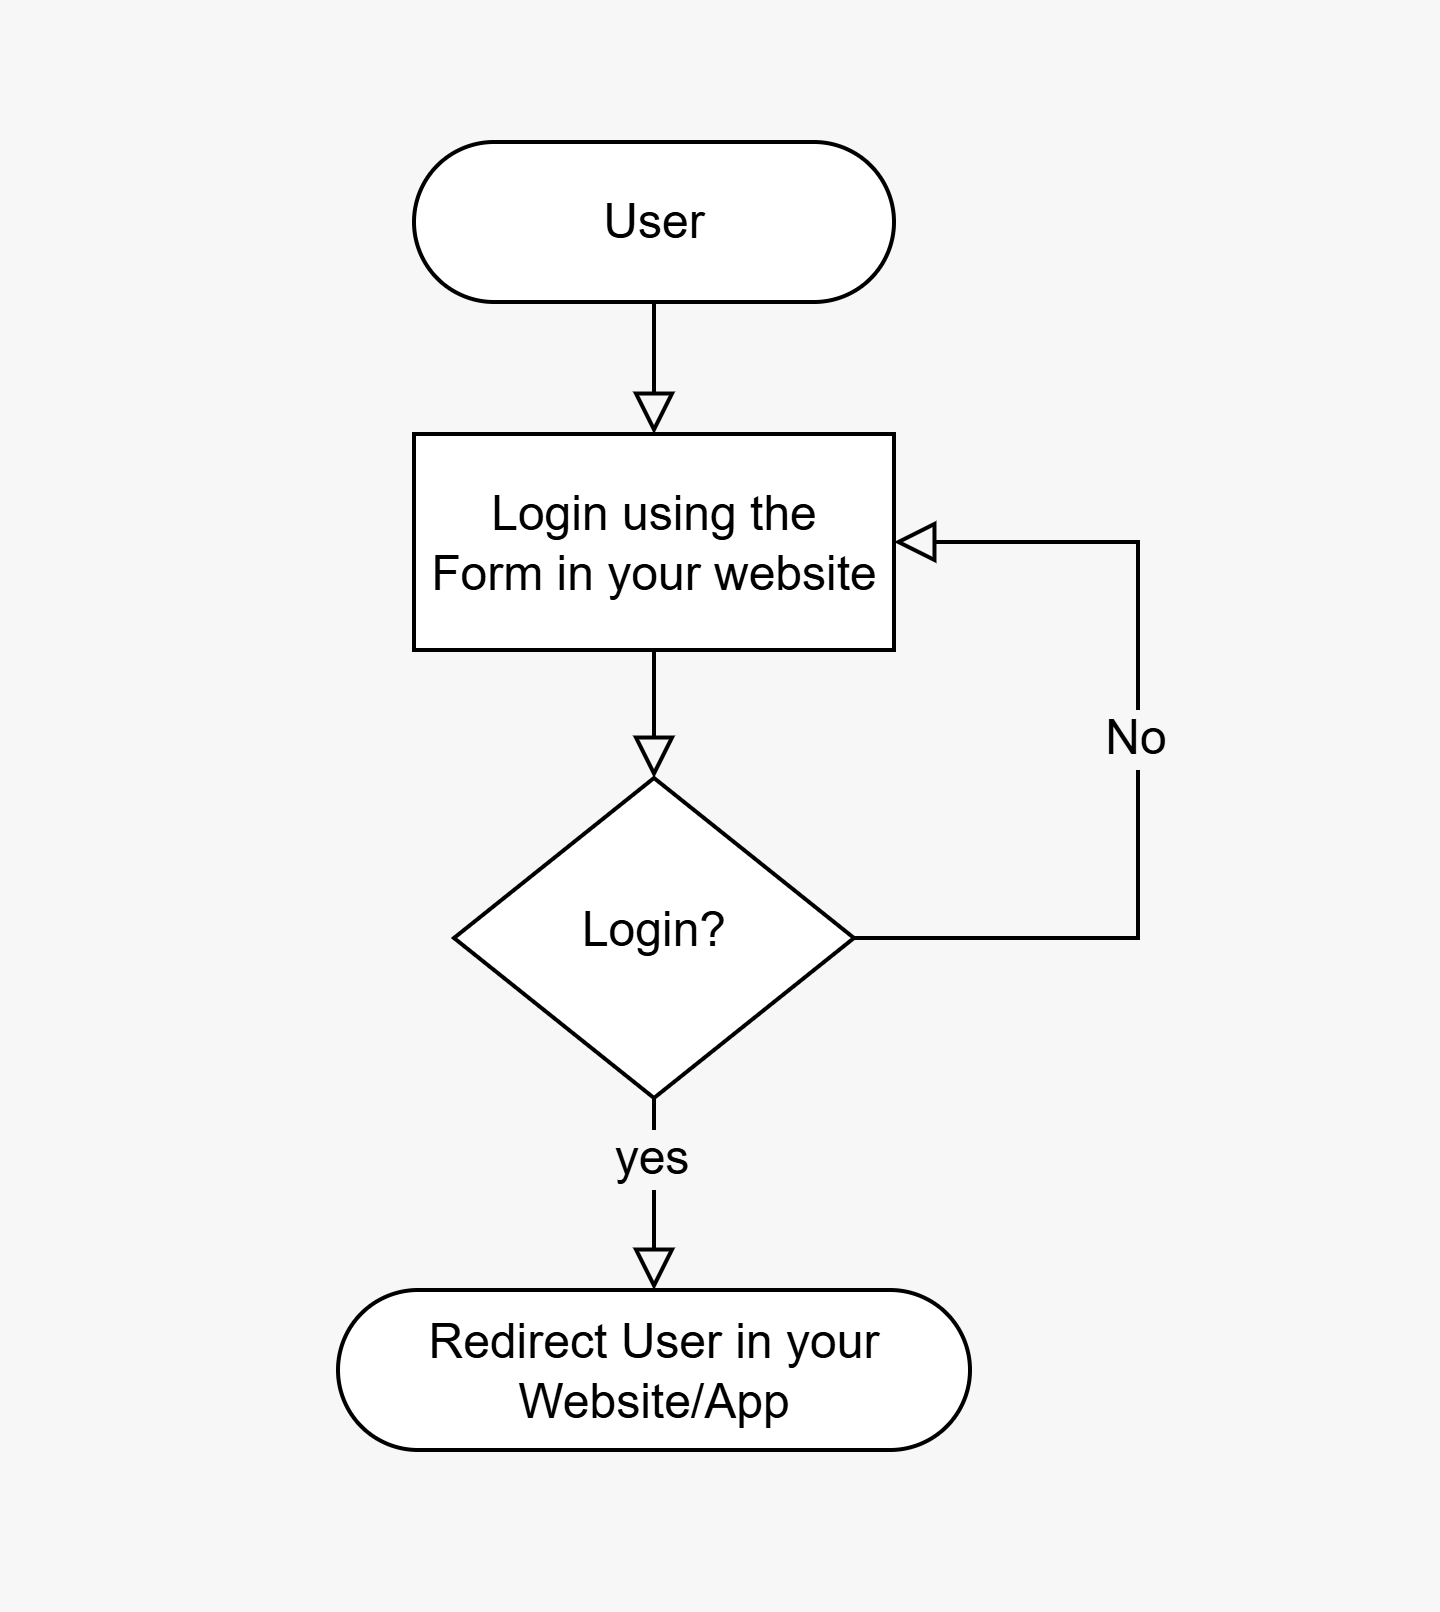
<img src="https://mintcdn.com/iehasa/3HrAqnpWMbH53XXh/images/development/bawabah-form-login-flow-en.png?fit=max&auto=format&n=3HrAqnpWMbH53XXh&q=85&s=878470f4578c69a586c2831a522707bc" alt="Bawabah Form Login Flow En Pn" title="Bawabah Form Login Flow En Pn" className="diagram mx-auto" style={{ width:"67%" }} width="1440" height="1612" data-path="images/development/bawabah-form-login-flow-en.png" />

## Setup Form Login

1. Prepare your Login Page:

   ```html theme={"dark"}
   <!DOCTYPE html>
   <html lang="ar">
   <head>
     <meta charset="UTF-8">
     <title>My Project</title>
   </head>
   <body>
     <h1>Welcome to my Website</h1>
   </body>
   </html>
   ```
2. Add a Placeholder element where you want your Form to be inserted and give it a unique id:

   ```html theme={"dark"}
   <div id="login-form"></div>
   ```
3. Add this snippet to your HTML code:

   ```html theme={"dark"}
     <script src="https://bawabah.app/app/login-form.js"></script>
     <script>
       startBawabah({
         element:"{placeholder-element-id}",
         appId: "{your-app-id}",
         callbackUrl: "{your-callback-url}"
       })
     </script>
   ```

   > Replace `{your-app-id}` with your appId and `{your-callback-url}` with your callback URL From [Create Your First App](/getting-started/en/quickstart#create-your-first-app) Step. and raplace `{placeholder-element-id}` with your placeholder element id from the HTML element configured on the previous step.
4. Final Code:

   ```html theme={"dark"}
   <!DOCTYPE html>
   <html lang="ar">
   <head>
     <meta charset="UTF-8">
     <title>My Project</title>
     <style>
       body{
         display: flex;
         justify-content: center;
         align-items: center;
         min-height: 100svh;
       }

       h1{
         width: 100%;
         text-align: center;
       }
     </style>
   </head>
   <body>
     	<h1>Welcome to my Website</h1>
   	<div id="login-form"></div>

     <script src="https://bawabah.app/app/login-form.js"></script>
     <script>
       startBawabah({
         element:"login-form",
         appId: "{your-app-id}",
         callbackUrl: "{your-callback-url}"
       })
     </script>
   </body>
   </html>
   ```

## Form Parameters

These are the parameters that can be used in `startBawabah()` function.

<ResponseField name="element" type="string" required>
  Specify the element where you want the login form to be inserted.
</ResponseField>

<ResponseField name="appId" type="string" required>
  Your appId from [Create Your First App](/getting-started/en/quickstart#create-your-first-app) Step.
</ResponseField>

<ResponseField name="callbackUrl" type="string" required>
  Your callback URL from [Create Your First App](/getting-started/en/quickstart#create-your-first-app) Step.
</ResponseField>

<ResponseField name="width" type="number">
  Specify the width of the login form in pixels - Leave it empty for auto width.
</ResponseField>

<ResponseField name="height " type="number">
  Specify the height of the login form in pixels  - Leave it empty for auto height.
</ResponseField>

## Design & Customization

Your hosted login page can be customized further using CSS, Learn more in [Customization](/custom/en).
